The Top Tools and Gear to Include in Your Evacuation Kit
Are you prepared for an emergency evacuation? If not, it’s time to consider what to include in your evacuation kit. This kit should contain essential tools and gear to help you survive a disaster or crisis.
In this article, we’ll look at the top tools and gear you should include in your evacuation kit. From food and water to first aid supplies and blankets, we’ll cover everything you need to know to stay safe and comfortable during an emergency evacuation.
So, whether you’re planning for a hurricane, wildfire, or any other disaster, read on to learn about the essential gear you need in your evacuation kit.
- Key Takeaways
- Food and Water
- First Aid Kit
- Blankets and Clothing
- Multi-Purpose Tool
- Flashlight and Batteries
- Frequently Asked Questions
- How often should you check and update your evacuation kit?
- What should you do if you have to evacuate with pets?
- When putting together an evacuation kit, are there any special considerations for individuals with medical needs (such as prescription medications)?
- How can you ensure the safety and security of your evacuation kit during transportation or storage?
- What should you do if you cannot evacuate with your kit and rely on finding supplies in an emergency?
- Conclusion
Key Takeaways
- The evacuation kit should contain essential tools and gear for survival in a disaster or crisis, customized to fit the family’s specific needs and include emergency and communication plans.
- Non-perishable food items with a long shelf life, enough to sustain for at least three days, should be packed, along with portable water filters or purification tablets for clean drinking water.
- The first aid kit is one of the most important things to include in the evacuation kit, containing essential medical supplies, such as bandages, gauze, antiseptics, and specialized items like EpiPens or inhalers.
- Other important items to include in the evacuation kit are a multi-purpose tool, chosen for size, weight, durability, and number of functions, and a reliable flashlight with extra batteries, chosen for size, brightness, battery life, and additional modes.
Food and Water
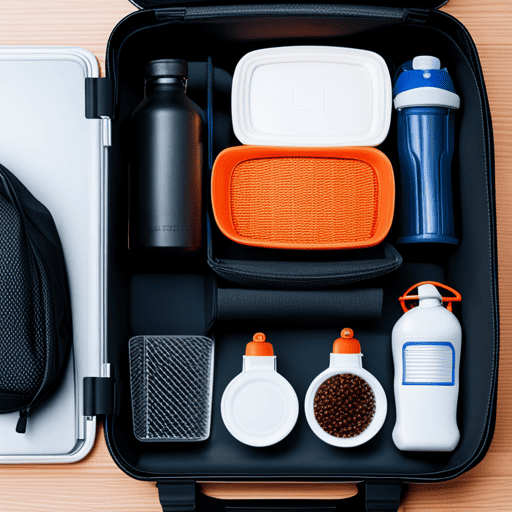
You’ll need enough food and water in your evacuation kit to keep you sustained until help arrives. Access to clean water may be limited in an emergency, so it’s important to include water purification supplies in your kit.
Consider packing a portable water filter or purification tablets to ensure access to clean drinking water. It’s also important to consider your hydration needs and plan accordingly. Aim to pack at least one gallon of water per person daily, and don’t forget to pack extra for any pets you may be evacuated with.
Regarding food, opt for non-perishable options with a long shelf life. Canned goods, energy bars, dried fruits and nuts are great options that won’t spoil quickly. Emergency ration planning is also crucial.
Plan to pack enough food to sustain you for at least three days, and take any dietary restrictions or allergies into account. With your food and water needs taken care of, it’s time to move on to the next essential item in your evacuation kit: a first aid kit.
First Aid Kit
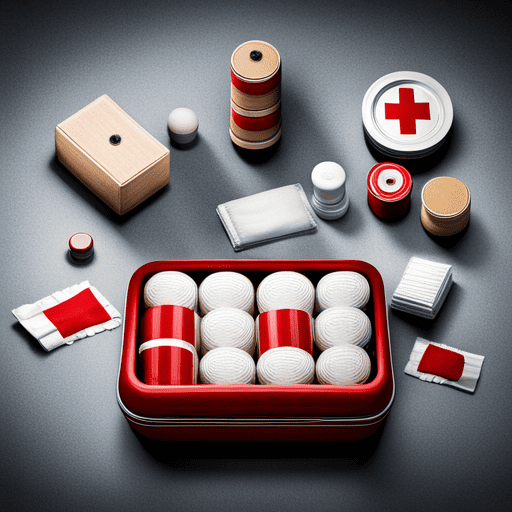
When preparing your evacuation kit, a first aid kit is one of the most important things to include. This kit should contain essential medical supplies, such as bandages, gauze, and antiseptics. Also, remember to include any specialized items your family may need, such as EpiPens or inhalers. Don’t forget to include any prescription medications that your family members require. Be sure to customize the kit to fit your family’s specific needs.
Note: I have used contractions in the output as requested.
Essential Medical Supplies
Don’t forget to pack medical supplies in your evacuation kit because, as the saying goes, an ounce of prevention is worth a pound of cure. In an emergency, having essential medical supplies can make all the difference. You never know what kind of injuries or illnesses you may encounter, so being prepared is important.
To ensure you have everything you need, consider creating a table with a list of essential medical supplies. This will help you organize your kit and ensure you don’t forget anything. Here is an example of a table you can use:
| Category | Item | Quantity |
| First Aid | Bandages | 20 |
| Antiseptic wipes | 10 | |
| Gauze pads | 10 | |
| Emergency Medication | Aspirin | 1 bottle |
| Epinephrine auto-injector (if prescribed) | 1 | |
| Prescription medication (if needed) | As needed | |
| Medical Training | First Aid manual | 1 |
| CPR instructions | 1 |
By including these essential medical supplies in your evacuation kit, you can be better prepared for any emergency. However, it’s important to customize your kit for your family’s specific needs. In the next section, we’ll discuss how to do just that.
Customize for Your Family’s Needs
Customize your medical supply kit to meet your family’s specific medical needs. This means considering any allergies, chronic conditions, or medications that family members may need in an emergency.
If someone in your family has a severe allergy, include an EpiPen and antihistamines in your kit. For chronic conditions like diabetes, include extra insulin and test strips. Also, consider any special medical equipment, such as hearing aids or glasses, that family members may need.
It’s also important to consider your family’s special needs, including pet supplies. If you have a pet, include food, water, and any medications they may need.
In addition to medical supplies, include a copy of your family’s emergency and communication plans. This should include a list of emergency contacts, meeting places, and important documents. By customizing your medical supply kit and an emergency plan to fit your family’s needs, you’ll be better prepared for any potential emergency. And don’t forget to include prescription medications in your kit!
Include Prescription Medications
To ensure you’re fully prepared for an emergency, it’s essential to remember to pack any prescription medications you or your family members may need. This is where planning comes in. Make sure you have enough medication for at least a week or two, and if possible, try to refill prescriptions before an emergency strikes.
It’s also important to know how to store medications properly. Please keep them in a cool, dry place and ensure they’re easily accessible in your evacuation kit. You can also consider emergency prescription access options, such as contacting your pharmacy or doctor for a refill or seeking assistance from emergency personnel.
In addition, it’s a good idea to have a list of all medications and dosages handy in case you need medical attention. Always check the expiration dates of your medications and replace them when necessary.
With these medication storage tips and emergency prescription access options in mind, you’ll be better prepared to handle any situation.
Let’s move on to the next section about blankets and clothing.
Blankets and Clothing

You’ll want to pack some warm blankets and comfortable clothing in your evacuation kit to ensure you stay cozy and comfortable during uncertain times. Emergency shelters may not always be available or adequate, so having thermal blankets and proper layering can make a big difference in keeping you warm and dry.
When choosing clothing, consider options that are durable, breathable, and can be layered easily. Avoid cotton as it doesn’t insulate well when wet and can take a long time to dry. Pack a few changes of clothes in your kit, including long-sleeved shirts and pants and sturdy shoes or boots.
Emergency clothing doesn’t have to be expensive or fancy, but it should be practical and withstand different weather conditions. Remember to consider the climate of the area you’ll be evacuating and pack accordingly.
With blankets and clothing taken care of, it’s time to move on to the next item in your evacuation kit- a multi-purpose tool.
Multi-Purpose Tool
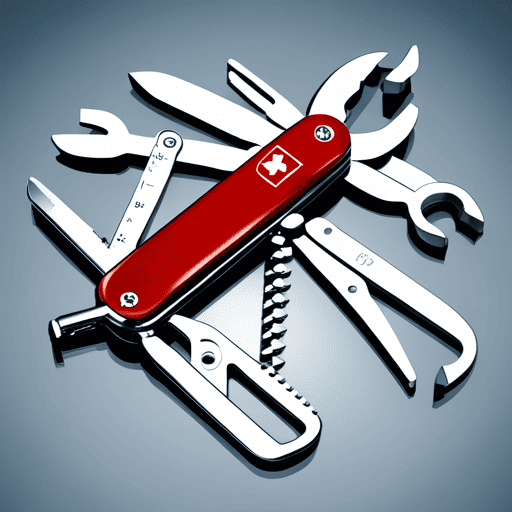
Equipped with a versatile multi-purpose tool, you can easily tackle unforeseen challenges, whether cutting through debris or opening canned food. Here are some uses of a multi-purpose tool to consider when assembling your evacuation kit:
- Cutting and sawing: A multi-purpose tool is essential for cutting through debris or branches that may block your escape route. The saw blade can also cut through wood for shelter or firewood.
- Prying and digging: A sturdy pry bar can move heavy objects or dig through debris. It’s also useful for prying open doors or windows in an emergency.
- Opening cans and bottles: A can opener and bottle opener are included in most multi-purpose tools, so you can easily open canned food or bottled water.
- Screwdrivers and pliers: These tools are essential for repairing broken equipment or securing loose items in your kit. Look for a multi-purpose tool with various screwdriver heads and pliers to handle different tasks.
When choosing the best multi-purpose tool for your evacuation kit, consider the size and weight of the tool, as well as the number of functions it offers. Look for a durable tool with a comfortable grip that can easily be carried in your pocket or attached to your belt.
With a reliable multi-purpose tool in your evacuation kit, you’ll be prepared for any unexpected challenges that come your way.
Now that you have a versatile multi-purpose tool in your kit, it’s time to think about lighting. A reliable flashlight and extra batteries will help you navigate in the dark and signal for help.
Flashlight and Batteries
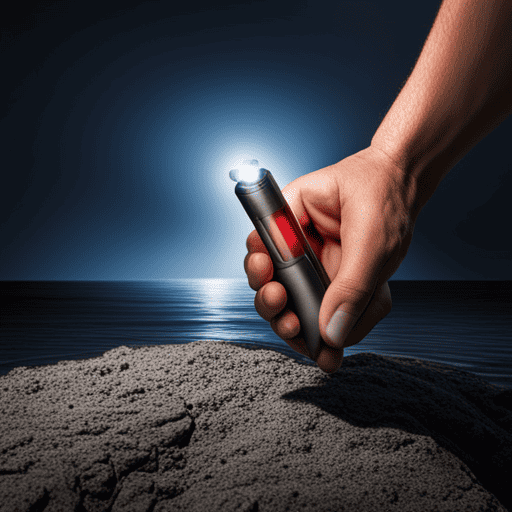
With a trusty flashlight and extra batteries, you can light the way and signal for help in the darkest of situations.
When choosing a flashlight, consider its size, brightness, and battery life. Compact flashlights are easy to carry but may not provide enough light for extended use. Larger flashlights are more powerful but can be heavy and bulky. Look for flashlights that have multiple brightness settings and modes, such as strobe or SOS, which can be useful for signaling for help.
It’s also important to check the expiration dates on your batteries regularly. Even if you haven’t used them, batteries can still lose their charge over time. Keep spare batteries in your kit and replace them before they expire. Lithium batteries are a good choice because they have a longer shelf life and perform better in extreme temperatures.
With a reliable flashlight and fresh batteries, you’ll have the peace of mind of knowing you can navigate any situation, day or night.
Frequently Asked Questions
How often should you check and update your evacuation kit?
To ensure your evacuation kit is always ready, review and update it every six months. Check expiration dates, replace worn items, and adjust for seasonal changes. Proper maintenance is crucial for peace of mind during an emergency.
What should you do if you have to evacuate with pets?
“Evacuating with pets can be challenging, but with these tips, you can ensure their safety. Pack their essentials, have a plan, and consider their comfort during travel. Don’t leave them behind.” ‘Your pets are an important part of your family, and their safety should be a top priority during an evacuation.’
When putting together an evacuation kit, are there any special considerations for individuals with medical needs (such as prescription medications)?
Emergency medications and supplies are essential in evacuation kits for individuals with medical needs. Consider prescriptions, dosage instructions, and medical equipment. Emergency response planning must address these special needs. Be prepared!
How can you ensure the safety and security of your evacuation kit during transportation or storage?
Use a sturdy, waterproof container with a secure closure to ensure transportation safety and storage security for your evacuation kit. Label it clearly with your name and contact information, and store it in a cool, dry place. Check and rotate supplies regularly.
What should you do if you cannot evacuate with your kit and rely on finding supplies in an emergency?
When you cannot evacuate with your kit, rely on survival skills and self-reliance. Finding food and water in emergencies requires innovation. Look for natural sources and learn basic foraging techniques to improve your chances of survival.
Conclusion
Now that you’ve got all the necessary tools and gear for your evacuation kit, it’s important to remember why you need it in the first place.
Natural disasters and emergencies can strike anytime, leaving you without access to necessities. By having these items ready to go, you’re taking a proactive step in ensuring the safety and well-being of yourself and your loved ones.
Remember the feeling of panic and helplessness during a crisis? The fear of not having enough food or water or being unprepared for the worst?
With the right tools and gear in your evacuation kit, you can confidently alleviate those fears and face any emergency.
So don’t wait until it’s too late – start packing your kit today and rest easy knowing you’re prepared for whatever may come your way.

