Emergency Cooking Without Electricity or Gas
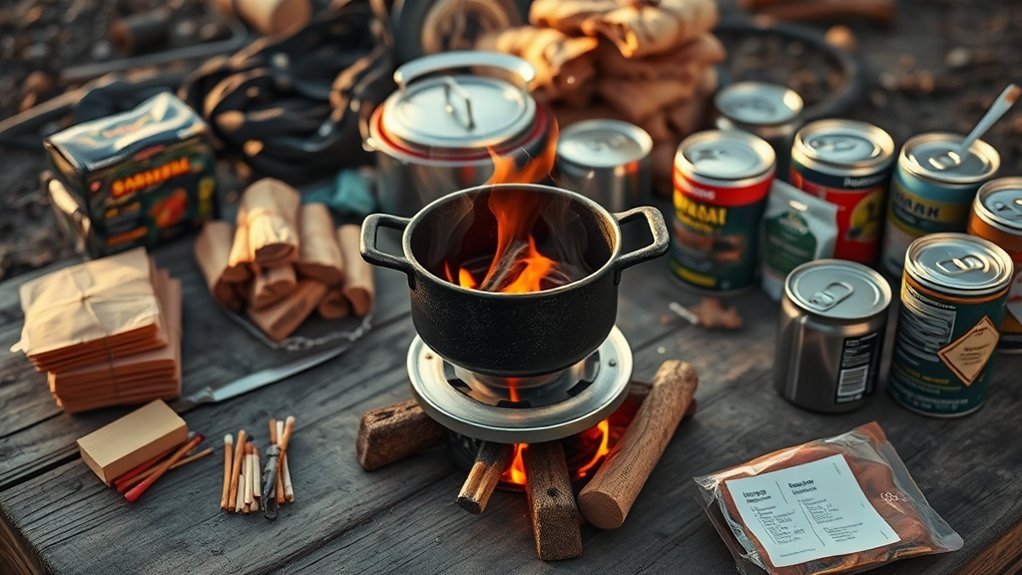
You can cook without electricity or gas using portable camp stoves, alcohol burners, or Sterno cans as safe indoor heat sources. For gentler heating, arrange tea lights in triangular formations to warm food, though cooking times extend to 45-60 minutes. Wood-burning stoves work well with seasoned hardwood, while solar cookers provide fuel-free cooking during daylight hours. Always maintain proper ventilation and keep fire extinguishers nearby when using any flame-based cooking method to guarantee your safety throughout the process.
Key Takeaways
- Use portable camp stoves, alcohol burners, or Sterno cans indoors with proper ventilation to avoid carbon monoxide poisoning.
- Arrange 3-6 tea lights in triangular or circular formations for gentle heating, though cooking times extend to 45-60 minutes.
- Wood-burning stoves provide consistent heat using dry hardwood; control temperature by adjusting air vents and wood placement.
- Solar cookers offer fuel-free cooking between 10 AM-2 PM using dark-colored pots for maximum heat absorption efficiency.
- Focus on no-cook meals using canned proteins, nuts, cheese, and pre-prepared foods to avoid cooking altogether.
Understanding Heat Sources and Safety Principles

When the power goes out, you’ll need alternative heat sources that can safely cook your food without creating dangerous conditions in your home.
Candles and tea lights won’t generate enough heat for cooking, so focus on fuel-based options like portable camp stoves, alcohol burners, or Sterno cans.
Never use outdoor grills, camping stoves, or charcoal indoors—they produce deadly carbon monoxide. Always verify proper ventilation when using any flame-based heat source, even alcohol burners.
Keep a fire extinguisher nearby and clear flammable materials from your cooking area.
Test your emergency cooking equipment before you need it, and store extra fuel safely away from heat sources.
Practice using these tools so you’re prepared when emergencies strike.
Candle-Powered Cooking Methods
You can harness candles as a reliable heat source for basic emergency cooking needs.
Start with simple tea light heating setups that’ll warm small portions of food or beverages effectively.
When you need more heat output, arrange multiple candles in strategic configurations to create cooking stations capable of handling larger meals.
Tea Light Heating Setup
Three simple tea lights can generate enough heat to warm food or brew a hot beverage when electricity isn’t available.
You’ll need a metal can or small pot as your heating vessel and a stable surface underneath the tea lights.
Space three tea lights evenly in a triangle formation, then place your container directly above them at the proper distance—too close burns the bottom, too far wastes heat.
A metal cooling rack or improvised stand works perfectly to maintain the right gap.
This setup works best for reheating soup, warming canned goods, or making tea.
You can’t achieve high temperatures, but it’s sufficient for gentle heating.
Keep extra tea lights nearby since each burns for about four hours.
Multi-Candle Cooking Arrangements
Larger cooking tasks require more candles arranged strategically to concentrate heat output. You’ll need four to six candles placed in a tight circle beneath your cooking vessel for effective heat generation.
Space them evenly, leaving just enough room between each candle to prevent wax pooling while maintaining concentrated flame zones.
Create a stable platform using a wire cooling rack or metal trivet positioned 2-3 inches above the candle arrangement. This height maximizes heat transfer without extinguishing flames.
For larger pots, arrange candles in two parallel rows rather than a circle to distribute heat across the bottom surface.
Always keep backup candles ready since cooking times extend considerably. You’ll typically need 45-60 minutes for simple heating tasks that normally take 10-15 minutes on conventional stoves.
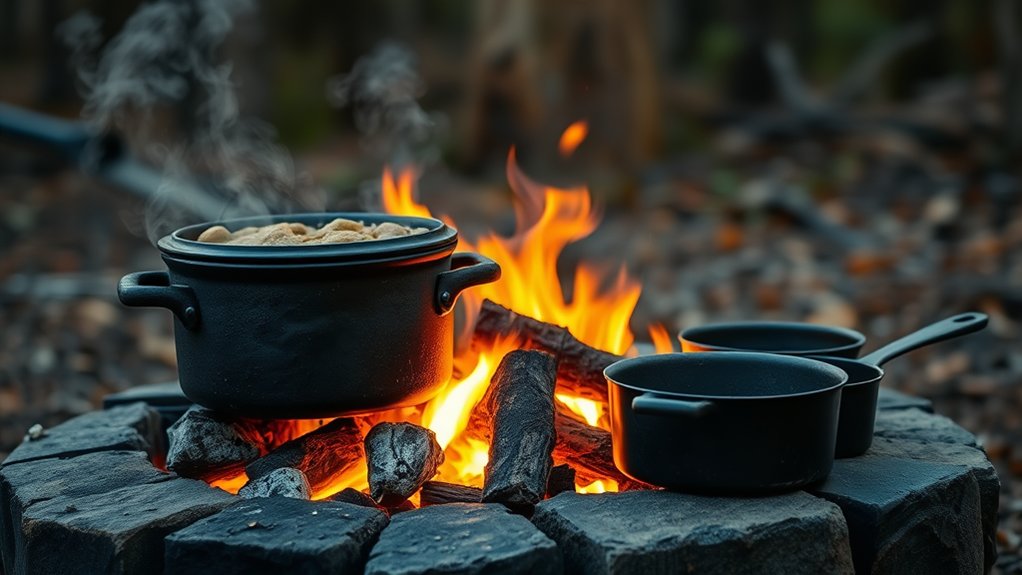
Wood-Burning Stove Techniques
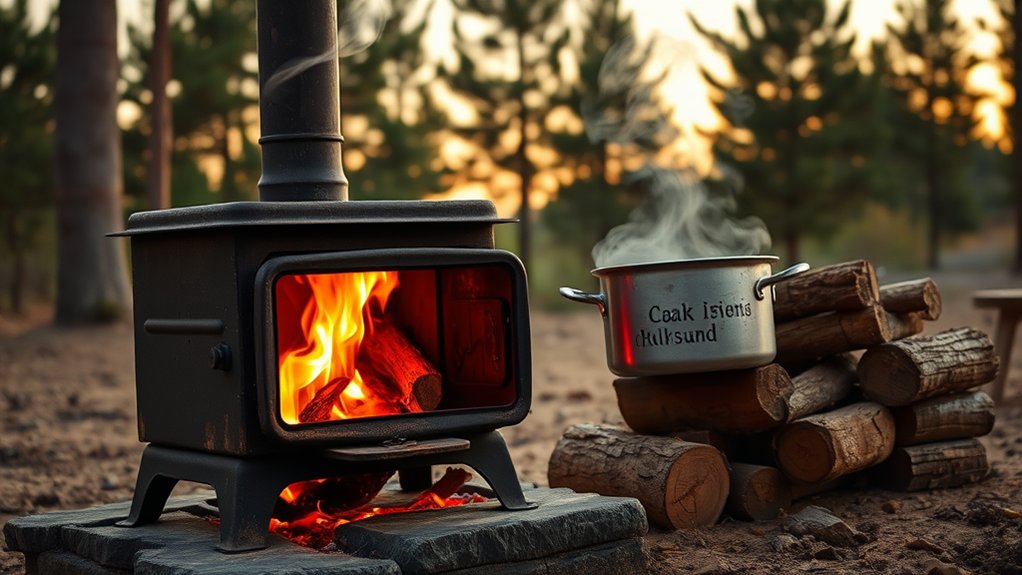
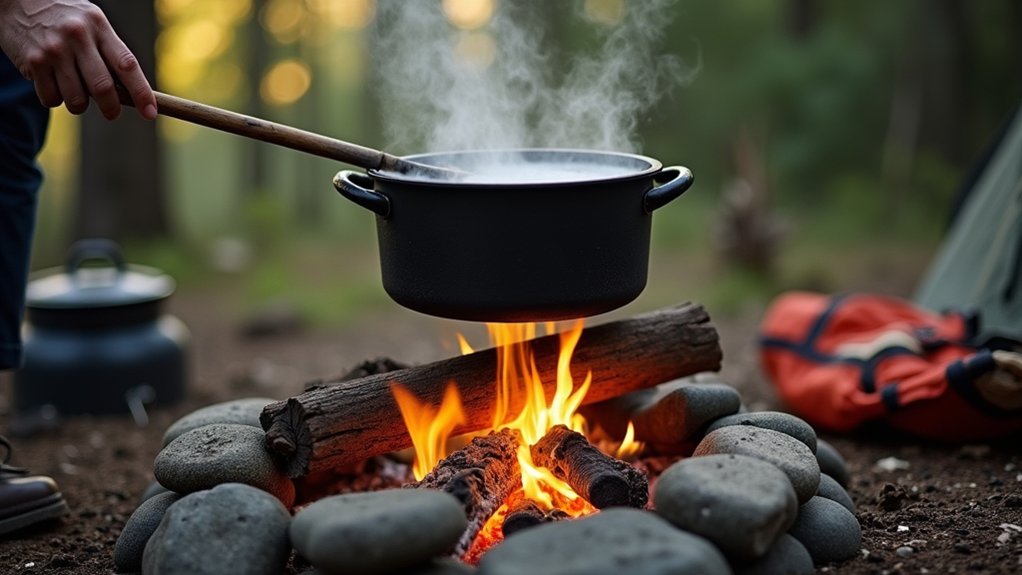
When the power goes out, a wood-burning stove becomes one of your most reliable cooking allies.
You’ll need dry, seasoned hardwood for consistent heat and minimal smoke. Start your fire with kindling and newspaper, then add larger pieces gradually.
Control temperature by adjusting air vents and wood placement. For gentle simmering, move pots to cooler areas of the stovetop.
Master your wood stove’s heat zones by adjusting airflow and repositioning cookware for precise temperature control during power outages.
You can bake by placing a Dutch oven on the stove with coals on the lid, or use the oven compartment if your stove has one.
Keep a water kettle on the stove for hot drinks and cleaning.
Stock extra wood indoors before storms hit. Always guarantee proper ventilation and never leave fires unattended.
Solar Cooking Solutions
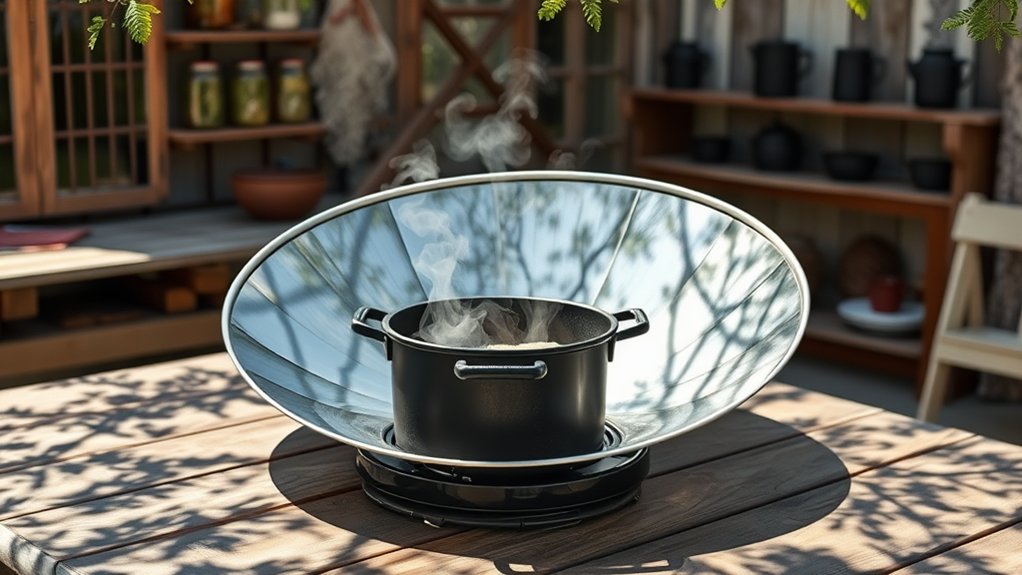
While clouds may temporarily interrupt your cooking plans, solar energy offers a completely silent and fuel-free method for preparing meals during power outages.
You’ll need a solar cooker, which you can purchase or build using cardboard boxes, aluminum foil, and black paint. Position your cooker to face the sun directly, adjusting throughout the day for maximum heat collection.
Solar cooking works best between 10 AM and 2 PM when sunlight’s most intense. You’ll achieve temperatures of 200-300°F, perfect for slow-cooking stews, rice, and vegetables.
Dark-colored pots absorb heat more efficiently than light ones. Plan for longer cooking times—what normally takes one hour may require two to three hours. Turkey bags or glass lids help retain heat and moisture while your food cooks.
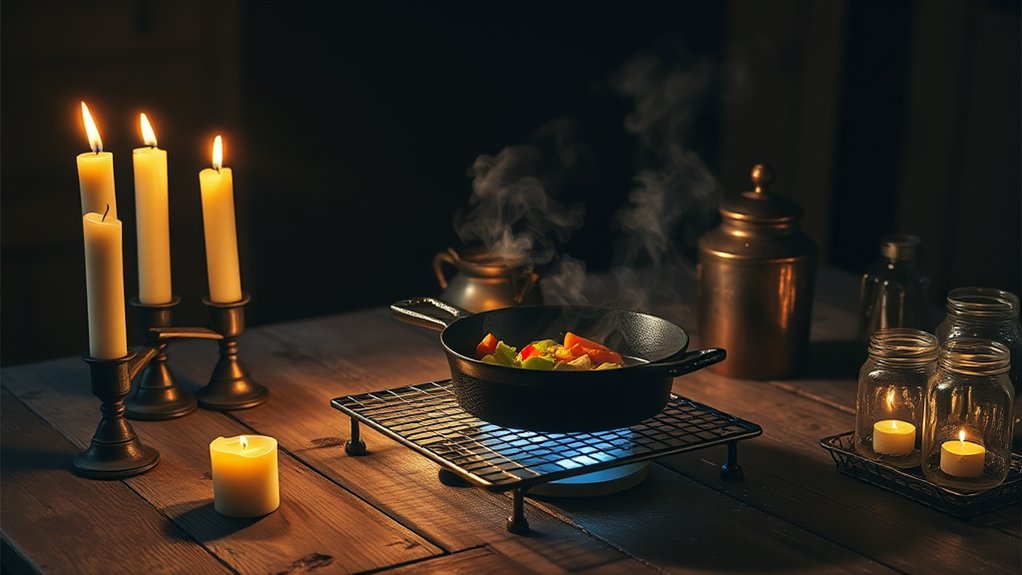
Alcohol and Fuel-Based Burners
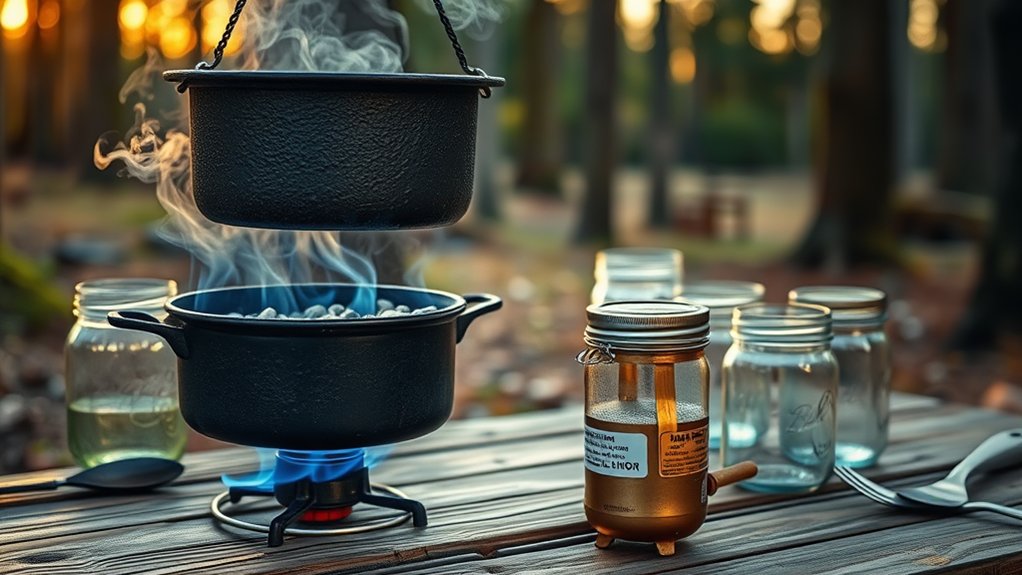
Although alcohol and fuel-based burners require careful handling, they’ll provide reliable heat output regardless of weather conditions. You can choose from several fuel types including denatured alcohol, white gas, and propane canisters.
Alcohol burners are simplest to operate and maintain, burning cleanly without leaving residue. White gas stoves offer higher heat output but need priming before use. Propane burners ignite instantly and allow precise flame control.
Each fuel type offers distinct advantages: alcohol for simplicity, white gas for power, and propane for convenience and control.
Always operate these burners in well-ventilated areas and keep fuel containers away from heat sources. Store extra fuel in approved containers, away from living spaces.
Check burner connections regularly for leaks using soapy water. Keep a fire extinguisher nearby when cooking. These portable stoves excel for emergency situations when you need consistent, controllable heat for extended cooking sessions.
Cold Meal Preparation Strategies
When you’re facing an extended power outage, you don’t always need to cook your food to create satisfying meals.
You can prepare nutritious cold meals by focusing on no-cook protein sources like canned fish, nuts, and cheese paired with fresh vegetables and fruits.
These combinations let you maintain proper nutrition while conserving your fuel supplies for when hot meals become essential.
No-Cook Protein Options
During power outages, you’ll need protein sources that don’t require cooking or heating to maintain your energy and nutritional needs.
Canned proteins offer excellent shelf-stable options: tuna, salmon, chicken, and sardines provide complete amino acids ready to eat.
Nuts and seeds deliver protein plus healthy fats – store almonds, walnuts, peanuts, and sunflower seeds in airtight containers.
Hard-boiled eggs prepared before emergencies last several days refrigerated.
Jerky and dried meats offer portable protein that doesn’t spoil quickly.
Protein bars and powders mixed with water create instant nutrition.
Canned beans like chickpeas, black beans, and lentils work straight from the container.
Cheese wheels and individually wrapped cheese provide calcium and protein without refrigeration needs for short periods.
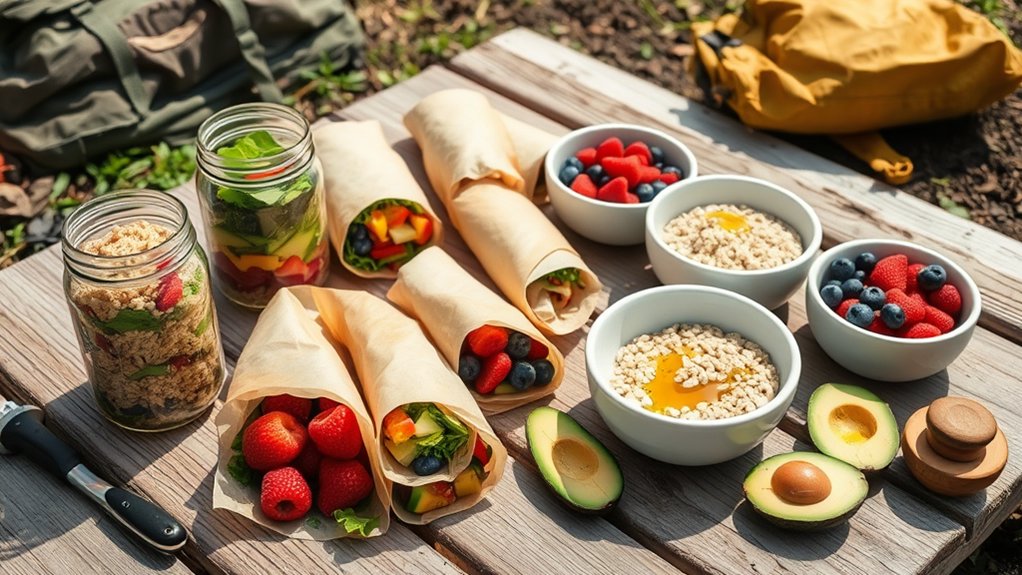
Fresh Ingredient Combinations
Beyond standalone proteins, you can create satisfying cold meals by strategically combining fresh ingredients that don’t require refrigeration or cooking.
Focus on nutrient-dense combinations that provide sustained energy and flavor variety during extended power outages.
- Grain and protein bowls – Mix canned beans with couscous or quinoa, adding nuts and dried fruits for texture and natural sweetness.
- Mediterranean-style wraps – Combine canned fish, olives, sun-dried tomatoes, and nuts in tortillas or flatbread for portable meals.
- Trail mix variations – Create custom blends using nuts, seeds, dried vegetables, and jerky pieces for balanced nutrition.
- Cold pasta salads – Toss pre-cooked pasta with canned vegetables, olive oil, vinegar, and shelf-stable cheese for filling comfort food.
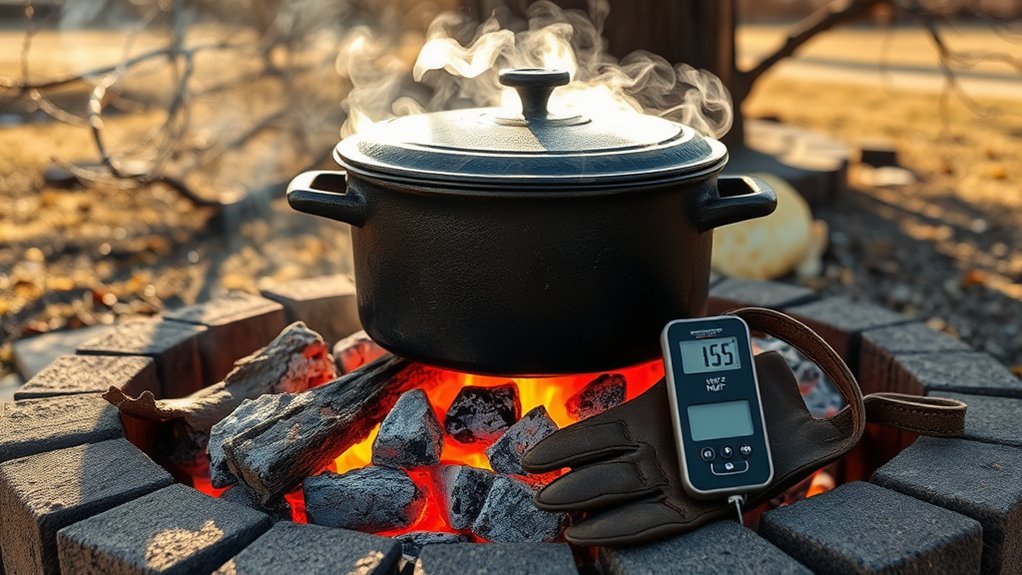
Essential Cookware for Emergency Situations
Since power outages can strike without warning, you’ll need reliable cookware that doesn’t depend on electrical appliances. A cast iron Dutch oven tops the list—it’s versatile for roasting, baking, and frying over open flames or camp stoves.
Pack a lightweight aluminum pot with lid for boiling water and cooking grains. Don’t forget a sturdy skillet for quick meals and a collapsible steamer basket for vegetables.
Essential tools include long-handled utensils to keep your hands safe from heat, heavy-duty aluminum foil for wrapping foods, and a manual can opener.
Store everything in a waterproof container with matches, a portable camping stove, and fuel tablets. Having these basics ready guarantees you’ll cook nutritious meals during any emergency situation.
Food Safety During Power Outages
When the power goes out, your refrigerated and frozen foods become ticking time bombs for foodborne illness.
You’ll need to act quickly to preserve what’s safe and discard what’s risky.
Follow these critical food safety guidelines:
1. Keep refrigerator and freezer doors closed – A full freezer stays cold for 48 hours, while a half-full freezer lasts 24 hours.
Refrigerators maintain safe temperatures for only 4 hours.
2. Use the “when in doubt, throw it out” rule – If food feels warm or reaches 40°F or higher for more than 2 hours, discard it immediately.
3. Prioritize perishables – Use dairy, meat, and leftovers first, as they spoil fastest.
4. Never taste questionable food – Contaminated food doesn’t always smell or look spoiled.
Planning and Stockpiling for Cooking Emergencies
While keeping existing food safe matters during outages, preparing ahead of time with the right supplies and strategies will give you far more cooking options when the lights go out.
Smart preparation with proper supplies and backup cooking methods transforms power outages from food emergencies into manageable inconveniences.
You’ll want to stockpile non-perishable foods that require minimal preparation—canned goods, dried fruits, nuts, crackers, and peanut butter work well.
Store extra water for cooking and cleaning, aiming for one gallon per person daily. Keep backup cooking fuel like propane canisters, charcoal, or wood pellets properly stored.
Don’t forget essential tools: manual can opener, matches, lighter, aluminum foil, and disposable plates.
Create a detailed emergency cooking plan that includes meal ideas using your stockpiled ingredients, and rotate supplies regularly to maintain freshness.
Conclusion
You’ve built your emergency cooking arsenal, transforming into a culinary MacGyver who’d thrive in any storm. Whether you’re harnessing the sun’s golden rays, coaxing flames from humble candles, or embracing the art of no-cook meals, you’re now equipped to weather any power outage. Your kitchen wisdom extends far beyond electrical cords and gas lines—you’ve become a master chef who dances with fire, light, and ingenuity.